
Craniosacral therapy (CST) is a gentle, hands-on treatment that aims to relieve tension and improve overall health by working on the craniosacral system, which includes the membranes and fluids around the brain and spinal cord. Using light touch, CST helps release restrictions, reduce pain, and support the body’s natural ability to heal. The effective execution of a craniosacral therapy session holds the ability to release fluid within the craniosacral system and aid numerous discomforts and illnesses. Keep reading for a detailed look into the structured 10-step protocol a trained CST practitioner will use to guide your body to better health.
Craniosacral Therapy Techniques: The 10-Step Protocol
One of the key approaches in CST is the 10-step protocol, a structured method initially taught by craniosacral therapy pioneer John Upledger that guides practitioners through a sequence of techniques to ensure thorough and effective treatment. Whether you’re seeking relief from chronic pain or looking to improve your overall well-being, this protocol offers a structured and effective pathway to healing.
Step 1: Finding the Still Point
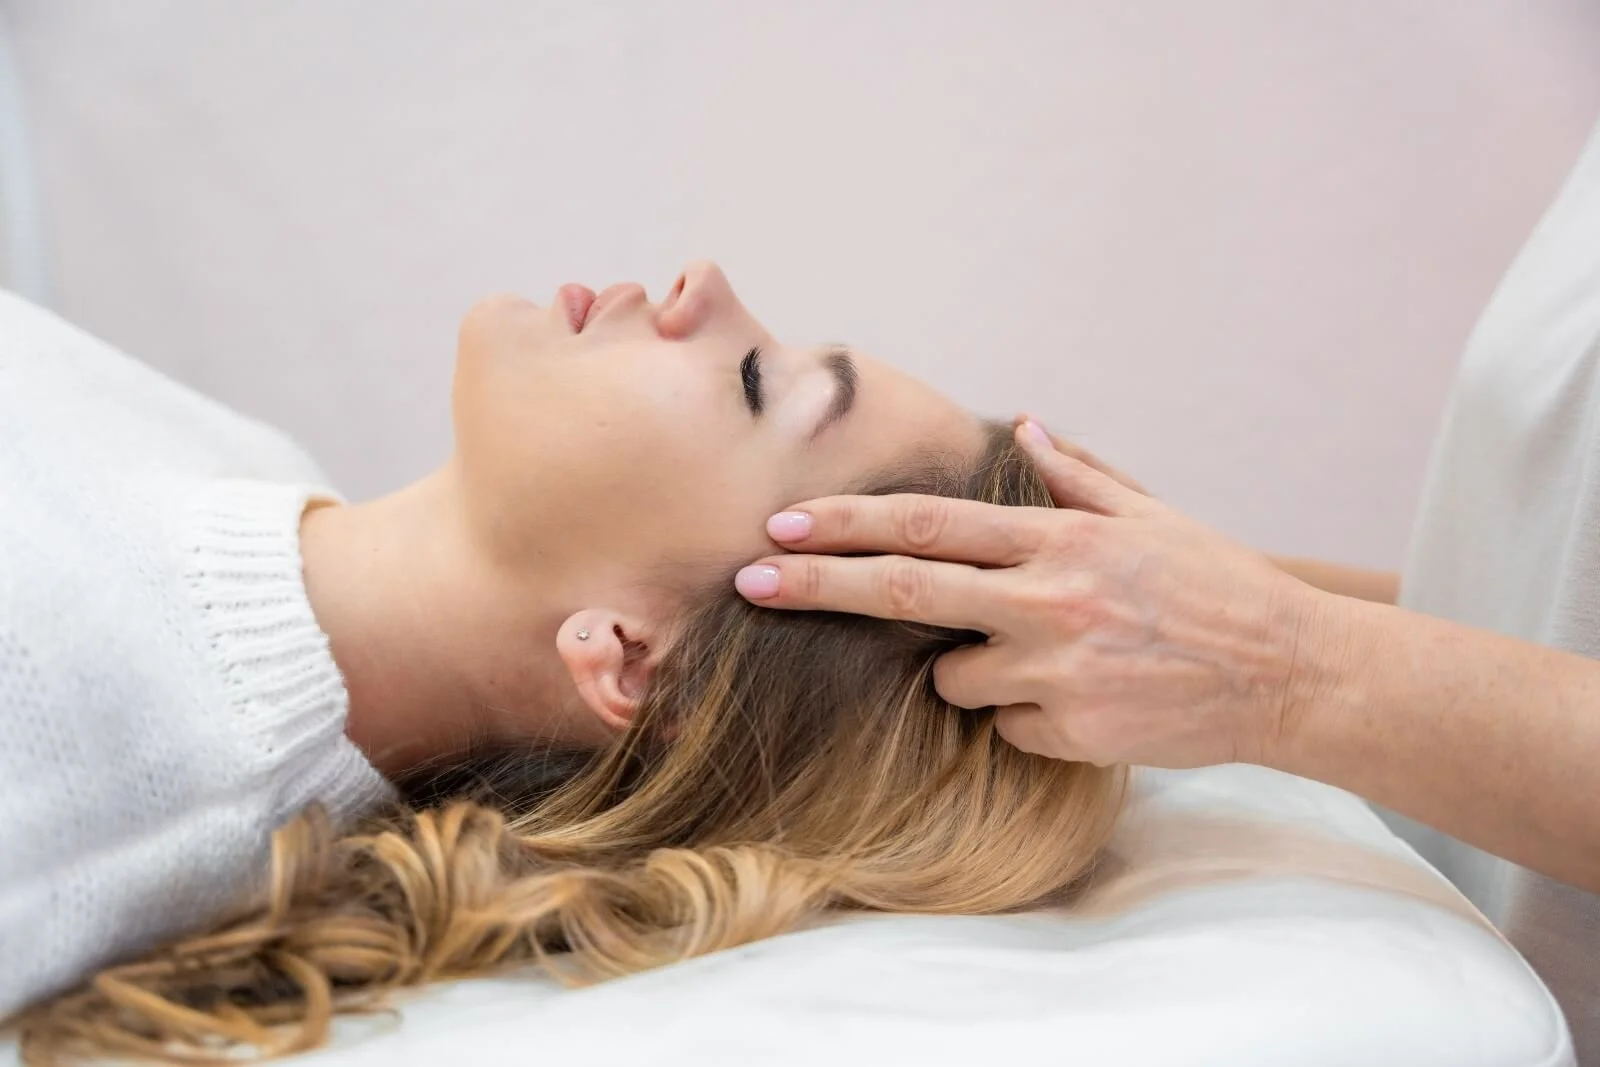
The first step in the craniosacral therapy 10-step protocol is to create a “still point.” This is a brief pause in the natural rhythm of the craniosacral system, which helps the body relax deeply and reset itself. The therapist gently holds the back of your head with both hands and applies light pressure to the base of your skull. They maintain this position until the movement of the cerebral rhythm slows down or stops. This still point encourages the release of built-up tension, setting the stage for the rest of the treatment.
Step 2: Releasing the Diaphragms
In this step, the therapist works on releasing tension in key areas of the body known as diaphragms. These diaphragms are horizontal layers of tissue that play a crucial role in fluid movement and overall body function. Using various craniosacral therapy techniques, therapists can relieve tension buildup from five different diaphragms.
-
Pelvic Diaphragm: The therapist presses on your lower back and abdomen to gently release tension in the pelvic area, which can help with lower back pain and pelvic issues.
-
Respiratory Diaphragm: By pushing onto your lower ribs, the therapist helps release tension on the diaphragm muscle, improving your breathing and overall relaxation.
-
Thoracic Inlet: The therapist works on the area around your neck and upper chest, helping to ease tension that can cause neck pain or tightness.
-
Hyoid: The therapist applies gentle pressure under your chin to release tension in your throat and upper chest, which can help with issues like swallowing difficulties or neck strain.
-
Occipital Cranial Base: Here, the therapist focuses on the base of your skull, helping to release tension that can affect the entire craniosacral system.
Step 3: Frontal Lift
The frontal lift technique targets the frontal bone, which is located in your forehead. The therapist gently places their hands on your forehead and applies a light motion. This cranial hold helps release tension in the front part of your skull, which can alleviate headaches, sinus problems, and eye strain. The technique is so gentle, many clients experience drifting into a light meditative state of rest.
Step 4: Parietal Lift
The parietal lift technique focuses on the sides of your skull, specifically the parietal bones. The therapist presses lightly on each side of your head, gently lifting the bones. This helps to improve the flexibility of the bones in your head, reduce tension, and promote better communication between your brain and the rest of your body. The parietal lift can be particularly helpful for relieving headaches and other types of cranial discomfort.
Step 5: Sphenobasilar Compression-Decompression
This craniosacral therapy technique targets the sphenobasilar junction, where two important skull bones—the sphenoid and occiput—meet. The therapist places their hands near the temples and applies gentle pressure to either compress or decompress this area. This helps balance the movement of the craniosacral system and ensures that the bones in your head are aligned properly. Releasing tension in this area can help with headaches, dizziness, and sinus issues.
Step 6: Temporal Techniques
The temporal techniques focus on the temporal bones located around your ears. During this part of craniosacral therapy, there are two main techniques used:
-
Temporal Wobble: The therapist gently moves the temporal bones back and forth, which helps to release tension and restore movement. This technique can be helpful for conditions like tinnitus (ringing in the ears) or dizziness.
-
Finger with Ear: The therapist places their fingers just in front of your ears and applies gentle pressure. This helps to release tension in the jaw and the area around the ears, which can be especially beneficial for people with jaw pain or TMJ (temporomandibular joint) issues.
Step 7: Temporal Decompression
Next, the therapist will transition to temporal decompression, which is all about relieving tension around the temporal bones. The therapist presses on the sides of your head and applies light traction to gently pull the bones apart. This safe and beneficial process can help encourage a cranial sacral release, reducing symptoms like headaches, earaches, and TMJ pain by improving the flow of fluids and reducing tension in the craniosacral system.
Step 8: TMJ Compression and Decompression
One incredibly popular benefit of CST is that the modality can aid with TMJ pain. This step specifically addresses the temporomandibular joint (TMJ), which connects your jaw to your skull. The therapist gently presses on the TMJ area, alternating between compressing and decompressing the joint. This helps to release tension and improve the function of your jaw, which can relieve pain and reduce symptoms like headaches and earaches. Properly addressing TMJ issues can significantly enhance your overall quality of life.
Step 9: Dural Tube Evaluation
In this step, the therapist assesses the dural tube, a protective membrane that surrounds your spinal cord and relates to the cerebrospinal fluid. By applying gentle tension to your lower back and the base of your skull, the therapist checks for any tightness or restrictions in the dural tube. If they find any areas of tension, they’ll apply gentle techniques to release it, which can help improve your posture, reduce pain, and enhance the flow of cerebrospinal fluid.
Step 10: Return to Still Point (CV-4)
The final step in the protocol is to induce another still point, also known as CV-4. This technique is similar to the first step but focuses on a specific area of the craniosacral system. The therapist holds the base of your skull and applies gentle force to help your body reach a state of deep relaxation. This still point allows your body to reset its craniosacral rhythm, promoting balance and encouraging your body’s natural healing processes.
Experience Relief Through CST with Gail Walker
The 10-step protocol of craniosacral therapy is a well-structured approach proven to address a wide range of physical and emotional challenges. By using gentle craniosacral therapy techniques to release tension in key areas of your body, I have been helping clients reduce pain, improve mobility, and support overall well-being for almost a decade. Whether you’re dealing with chronic pain, stress, or other health issues, this protocol offers a holistic way to enhance your body’s natural ability to heal and maintain balance. Reach out today for a consultation and take the first step toward better mental and physical health!
